El Choro Trek (Camino del Choro) is a multi-day hike in Bolivia that takes you from the cold, barren mountains above La Paz into the warm, humid Yungas in just 52 km and a few days. It’s a pretty dramatic change in scenery for one trek.
We hiked the El Choro Trek without a guide in September 2025, starting at La Cumbre and finishing at Chairo. It took us three days with most of the route going downhill from almost 5,000 metres. We really enjoyed the hike and had the trail almost to ourselves.
If you’re thinking about doing the El Choro Trek independently, this guide covers what we actually found on the trail, including our 3-day itinerary, GPS distances and elevation, campsites, water, food, trail conditions and transport from La Paz to La Cumbre and from Chairo to Coroico and back to La Paz.
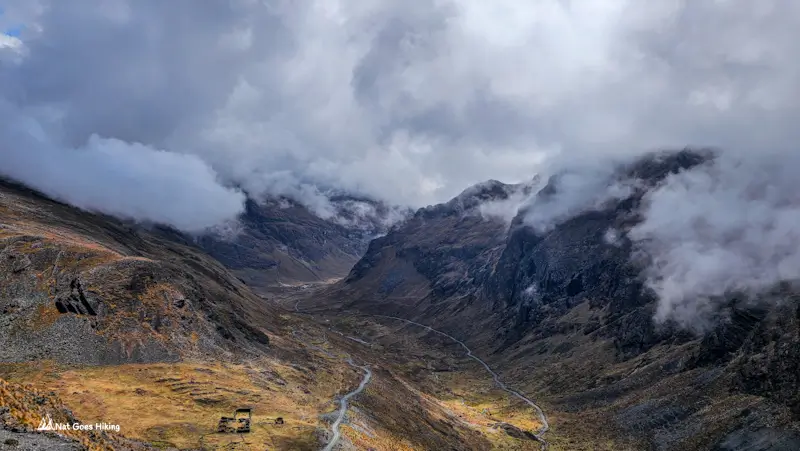
Can you do the El Choro Trek without a guide?
Yes, you can do the El Choro Trek without a guide. There is no requirement to hire a guide or join an organised tour. We hiked independently without any major problems finding our way. The trail was well established.
If you’re planning to hike without a guide, I’d download the route before you start and carry enough food for the whole trek. Our GPS track includes waypoints for the water sources we found, including mountain streams, rivers and small waterfalls.
The trek starts at 4,655 m, so being properly acclimatised is important.
I’d also ask at the checkpoint about the current condition of the campsites and bridges. Information you find online, especially if it’s older, can be quite different from what you actually find on the trail.

El Choro Trek: Trail Notes
El Choro Trek: Quick Facts
- Hiked: September 2025
- Updated: October 2026
- Trail type: Point-to-point multi-day trek
- Distance: 52.3 km / 32.5 mi (our GPS recording)
- Duration: 2-4 days
- Moving time: 14h 33m
- Elevation gain: 864 m / 2,835 ft
- Elevation loss: 4,143 m / 13,593 ft
- Starting point: La Cumbre (~25 km / 15.5 mi, ~50 min from La Paz)
- Starting elevation: 4,655 m / 15,272 ft
- Ending point: Chairo (~100 km / 62.1 mi, ~3-3.5 hrs by road to La Paz via Yolosita)
- Ending elevation: 1,369 m / 4,491 ft
- Highest point: 4,855 m / 15,928 ft
- Lowest point: 1,369 m / 4,491 ft
- Difficulty: Moderate to challenging
- Best season: Dry season (May to September)
- Campsites: Available, but some may be abandoned
- Water sources: Available along the route
GPS note: Distance and elevation figures can vary between GPS devices and mapping platforms. The figures above are from our merged GPS track on Wikiloc, while the day-by-day figures come from the individual GPS recordings we made each day.
Click the button below to download the El Choro Trek GPX file.
Day 1: La Cumbre to Challapampa, 20.3 km
El Choro Trek. Day 1 Statistics
- Distance: 20.3 km / 12.6 mi
- Total time: 6 h 47 m
- Moving time: 4 h 57 m
- Elevation gain: 207 m / 679 ft
- Elevation loss: 2,024 m / 6,640 ft
- Starting elevation: 4,655 m / 15,272 ft
- Ending elevation: 2,837 m / 9,308 ft
- Highest point: 4,855 m / 15,928 ft
- Lowest point: 2,837 m / 9,308 ft
Day 1: Trail Notes
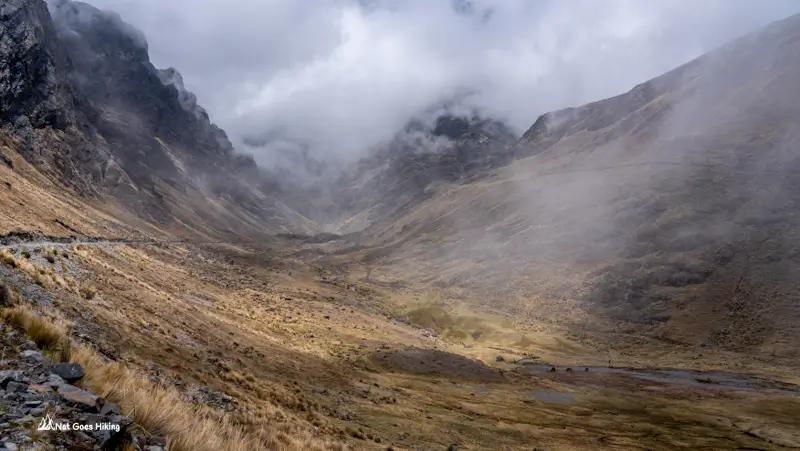
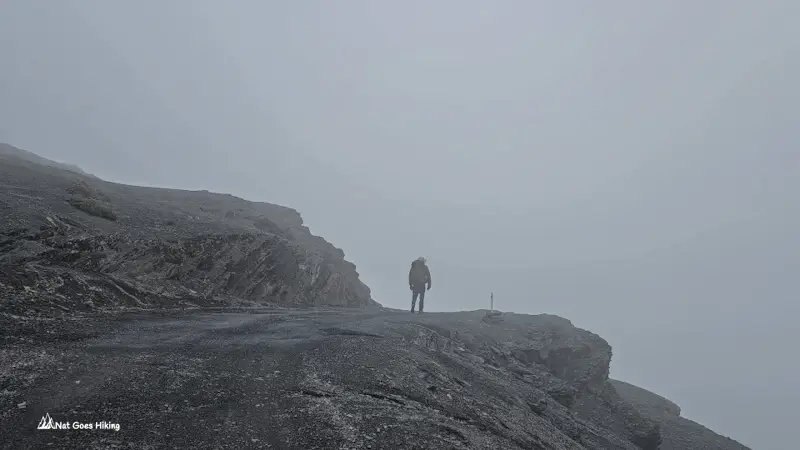
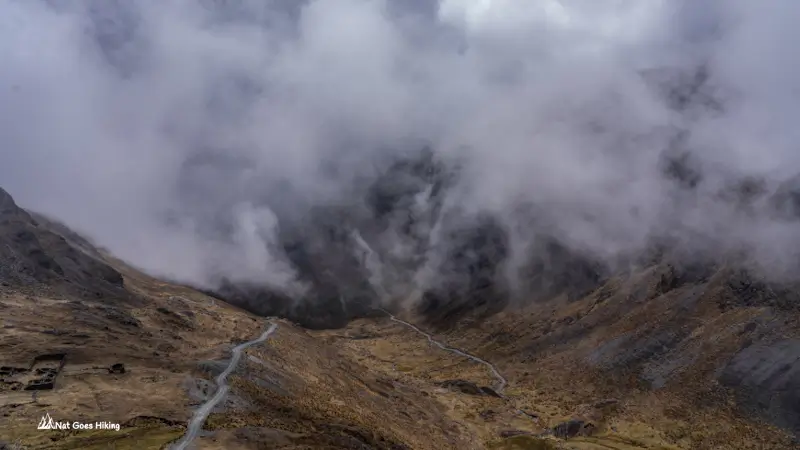
The first day was my favourite for the views, even though it was foggy. We started in clouds and fog, so for much of the morning we couldn’t see the mountains around us. After we reached the pass and started walking down, the fog opened up every now and then for a few seconds, revealing the mountains and the valley below. Those brief glimpses were probably more dramatic than having a clear view all day.
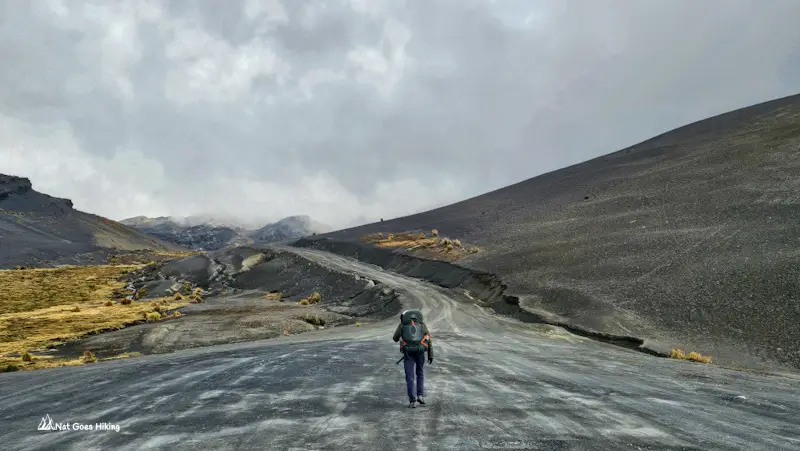
The first 3 km were the only major climb of the trek, around 207 m of ascent. We reached the highest point of the El Choro Trek at about 4,855 m, and from here, it was almost all downhill.
For the rest of the day, we gradually went from the barren high-altitude landscape down towards the valley, eventually reaching the cloud forest.
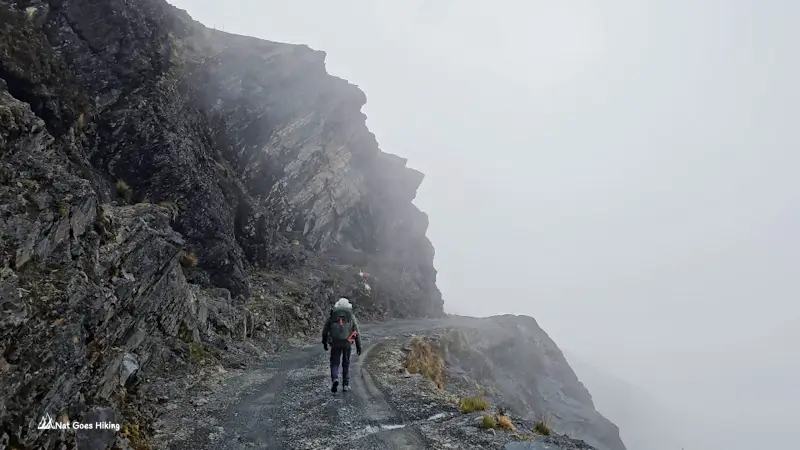
The trail began on a dirt road, but we didn’t see any cars. Later, the path turned into an old cobbled stone trail, part of the historic Inca-era Trail.


After descending into the valley, the trail goes along the Chucura River. Around lunchtime, we reached the checkpoint (about 10 km into the route) where we registered and paid the entrance fee of Bs 20 per person. This is also where I wish we’d asked a couple of questions.
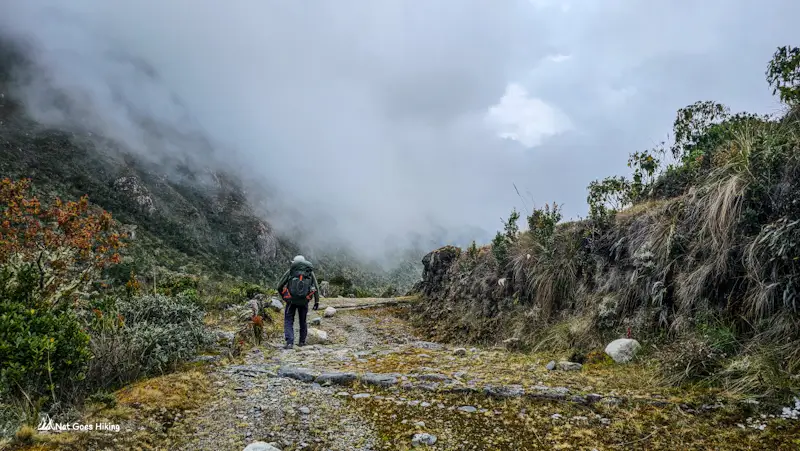
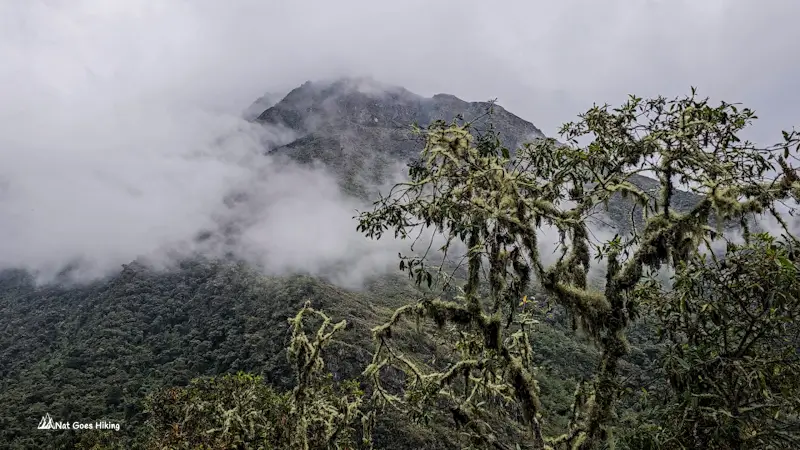
I recommend asking which camps are currently open and whether the bridges are in good condition. The situation seems to change, and information you find online about camps and bridges can be quite out of date. So it’s best not to rely entirely on what you find online.
Challapampa Campsite
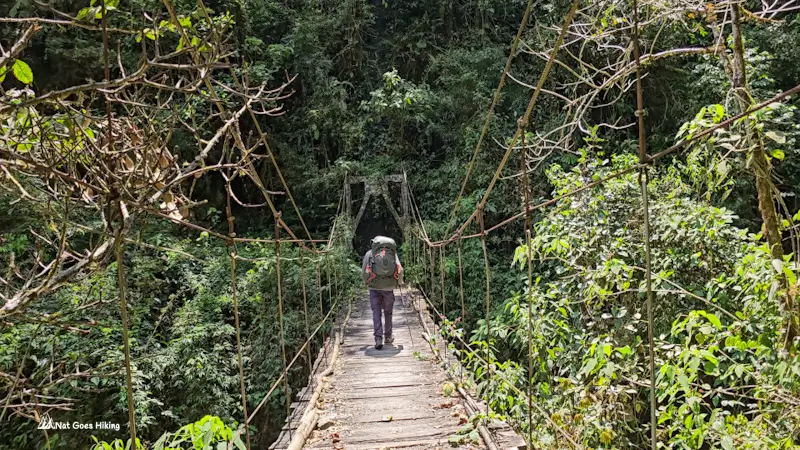
We arrived at the Challapampa campsite at 4 pm. Just before we reached the campsite, we crossed a big suspension bridge.
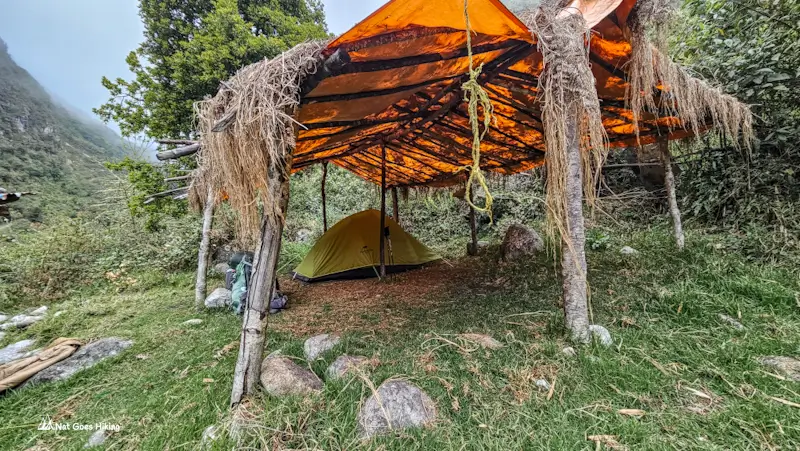
We paid Bs 20 per person to camp at Challapampa. It is a basic campsite, but we liked it. There is running water and covered areas where you can pitch your tent. We slept really well. It wasn’t cold overnight, but it was quite humid. There was one other hiker there that night.

Day 2: Challapampa to Buena Vista, 10 km
El Choro Trek. Day 2 Statistics
- Distance: 10 km / 6.2 mi
- Total time: 5 h
- Moving time: 3 h 25 m
- Elevation gain: 224 m / 735 ft
- Elevation loss: 720 m / 2,362 ft
- Starting elevation: 2,837 m / 9,308 ft
- Ending elevation: 2,340 m / 7,677 ft
- Highest point: 2,837 m / 9,308 ft
- Lowest point: 2,190 m / 7,185 ft
Day 2: Trail Notes
We got up at 6:30 am, had breakfast, packed up, and left around 8 am.
By this point, we were properly into the Yungas cloud forest. The trail follows the Chucura River for most of the day, and you can often hear the water. The air was much warmer and more humid than on the first day.
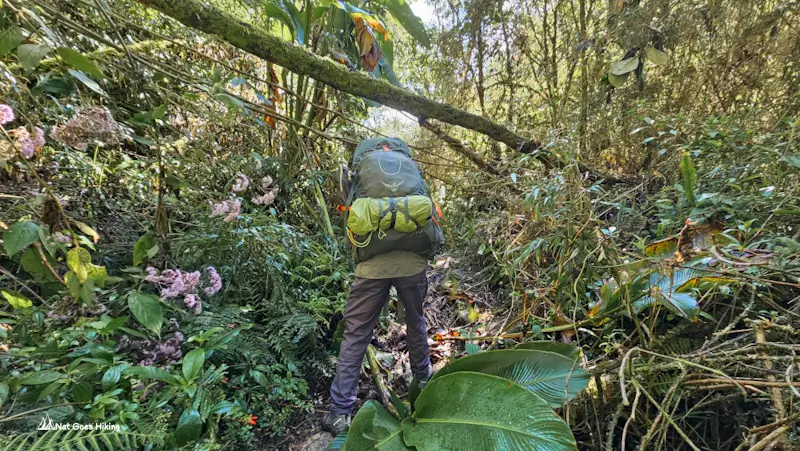
The trail follows the hillside above the river. This was the easiest day for us: we hiked only 10 km. There were some ups and downs. There were some muddy sections and sections where the vegetation was quite dense.
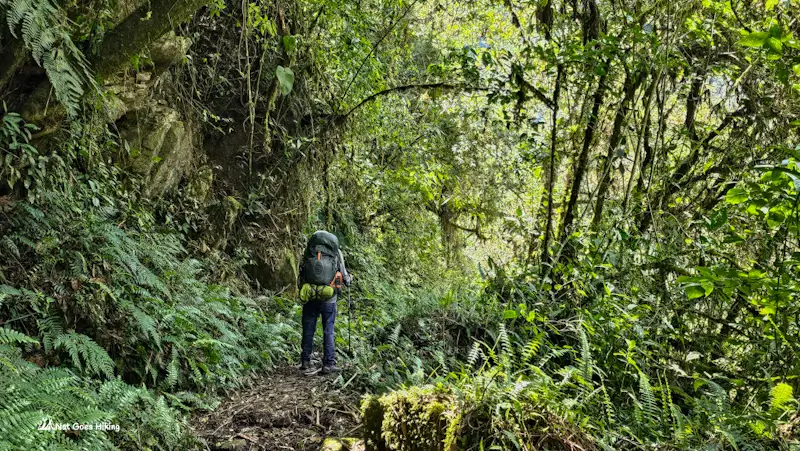
Day 2 was a sunny day. After the cold and fog of the previous morning, it was strange to be in a warm, green forest so close to where we had been on Day 1.
We reached Choro Villa Loa at about 10:40 am, after losing roughly 660 m over 6 km. We bought a large bottle of Coca-Cola for Bs 30 and stopped for about half an hour.
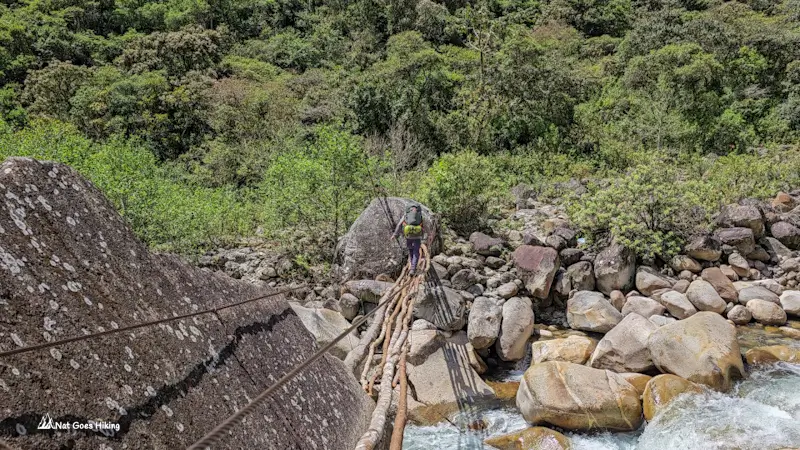
About 1 km after Choro Villa Loa, we crossed the Chucura River on a small suspension bridge. It was in good condition when we crossed it in September 2025. I had read quite a few reports about bridges being washed away or damaged. I recommend asking about current bridge conditions at the checkpoint before setting off.
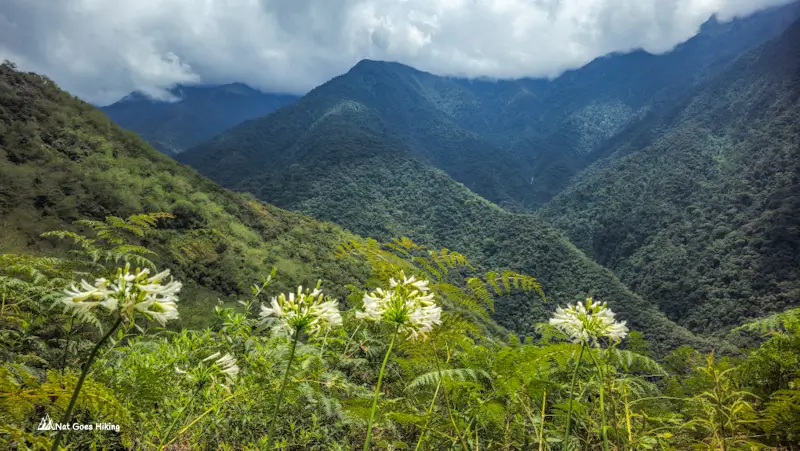
Once across the river, the trail gradually climbed again. We gained about 200 m over the next 3 km before reaching Buena Vista.
Buena Vista Campsite
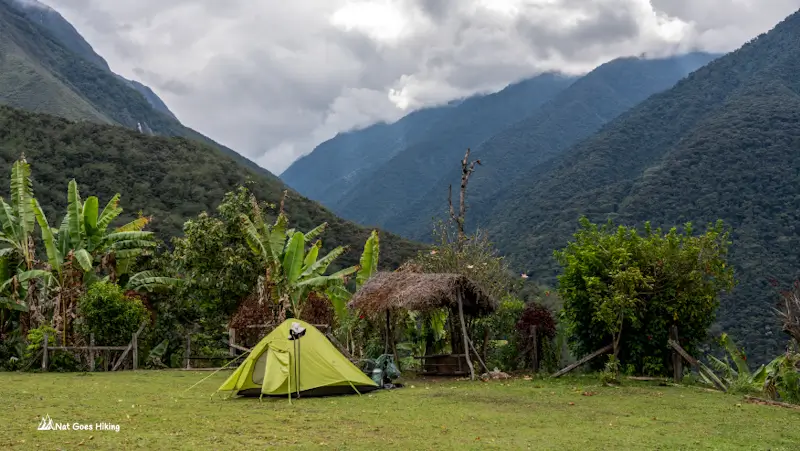
And Buena Vista was a pleasant surprise. The campsite has a beautiful green lawn and a great view over the surrounding mountains. The owner grows avocados, bananas, and coffee, and there is a tiny shop where you can buy a few drinks and snacks.
We bought:
- water for Bs 20
- crackers for Bs 8
- an avocado for Bs 2
The host was a lovely older man. He was there when we arrived, but he doesn’t live at the campsite and left during the afternoon. He told us that if other hikers arrived after he had gone, they could leave the camping fee by throwing the money over the door into the storage room.

Camping at Buena Vista cost Bs 25 per person. There was water, a toilet, and a shower.
We arrived at 12:45 pm after only 10 km of walking, but we liked the place so much that we decided to stay. Looking back, I think we made the right choice. Several of the camps further along the trail looked abandoned when we passed them the following day.

Day 3: Buena Vista to Chairo, 22 km
El Choro Trek. Day 3 Statistics
- Distance: 22 km / 13.7 mi
- Total time: 8 h 06 m
- Moving time: 6 h 11 m
- Elevation gain: 434 m / 1,424 ft
- Elevation loss: 1,402 m / 4,600 ft
- Starting elevation: 2,340 m / 7,677 ft
- Ending elevation: 1,369 m / 4,491 ft
- Highest point: 2,340 m / 7,677 ft
- Lowest point: 1,369 m / 4,491 ft
Day 3: Trail Notes
We got up at 6:30 am and started hiking at 8:10 am. We woke up surrounded by mules, munching on the grass.
The day became hotter as we descended. We crossed several bridges and passed a couple of small waterfalls.
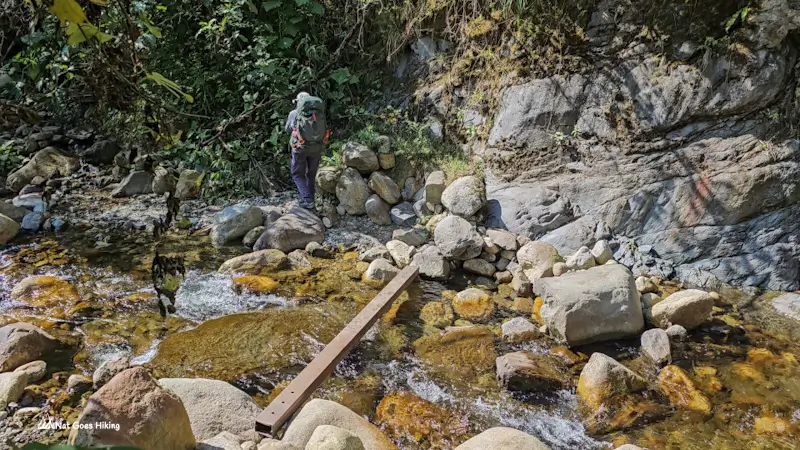
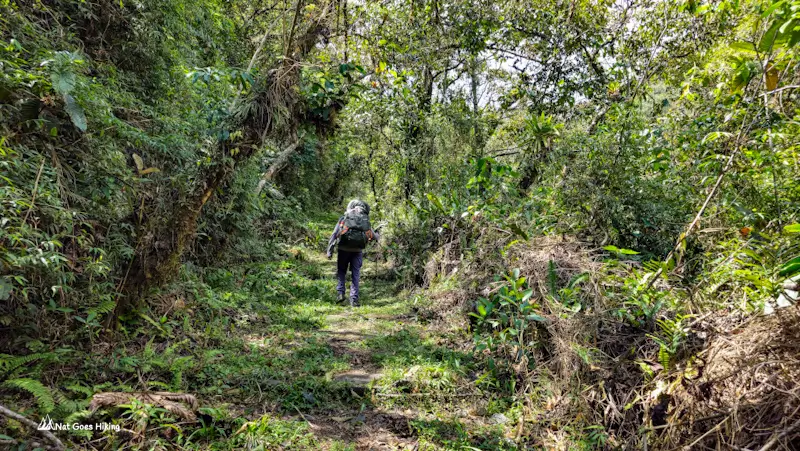
We passed several campsites: Bella Vista, Super Vista, Sandillani, and maybe a few others. After Buena Vista, though, we didn’t find any campsites that were open. If you’re planning to rely on the campsites for your itinerary, don’t assume that every campsite shown on maps or mentioned in blogs will be operating.
Sandillani Campsite
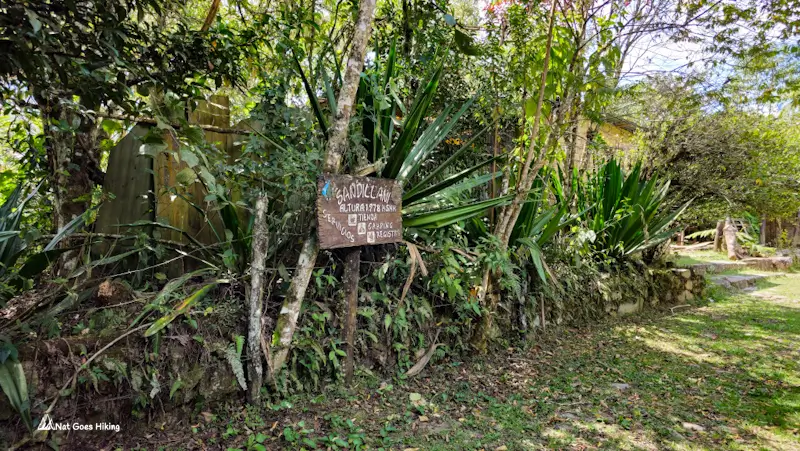
Sandillani was supposed to be our third-night stop. But when we arrived, the campsite looked abandoned. It was run by a Japanese man, Tamiji Hanamura, who had lived at Sandillani for decades and died in 2013. We didn’t know anything about this; we had just seen the campsite on the map. When we came to the campsite, we saw his grave there. The property used to have a garden, a camping area, tables, a small shop, and basic facilities. I think it is still possible to pitch a tent there, but don’t expect any facilities.
Next to Sandillani is Lodge Albergue Urpuma, with a lovely green lawn that looked like it would make a great camping spot. Unfortunately, the entrance was locked when we passed.
We decided to finish the hike
At this point, it was around 2 pm, and we had about 7.6 km to go. It was hot, but we decided to keep walking and finish the trek.
From here, the trail was almost entirely downhill to Chairo. It took us about 2 hours and 15 minutes. After two and a half days of descending, our knees were definitely feeling it.
I have to admit that the third day was my least favourite part of the El Choro Trek. The landscape didn’t change as dramatically as it had on the first day, and parts of the trail felt quite monotonous. We also wanted to reach Chairo as early as possible because we were not sure how easy it would be to get a taxi to Coroico if we arrived in the evening.
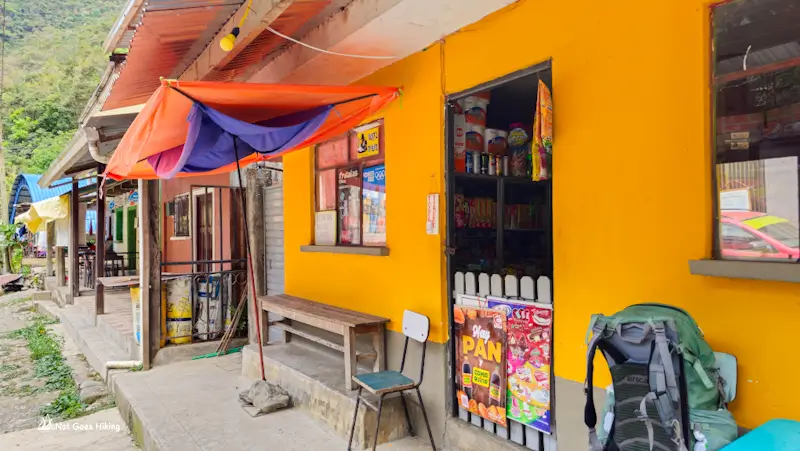
We reached Chairo at about 4:15 pm. There is a small shop right at the end of the trail, which was very welcome after 22 km of walking. We bought drinks and asked the lady at the shop about getting a taxi to Coroico. One arrived pretty quickly, and we paid Bs 150 for the ride.
The distance from Chairo to Coroico is about 21 km, including roughly 9.5 km on an unsealed road. The journey took around an hour.
El Choro Trek: Getting There and Back
Getting to El Choro Trailhead
La Cumbre is the starting point of the El Choro Trek, at around 4,655 metres above sea level. It is on the road between La Paz and Coroico, and is located about 25 km from the centre of La Paz. You can reach the trailhead by public transport or taxi.
By public transport
The cheapest option to get to La Cumbre is to go to Terminal Minasa in La Paz and take a minibus towards Coroico. You need to let the driver know that you want to get off at La Cumbre. Expect to pay Bs 20-35. The recent reviews of Terminal Minasa mention that hikers were charged Bs 35 to get to La Cumbre. When we took a minibus from Coroico to La Paz we paid Bs 30 per person.
Terminal Minasa is in the Villa Fátima area and can be reached by public transport. Look for a minibus with “Villa Fátima” displayed in the windscreen and ask the driver to let you know when you reach the terminal. Alternatively, take a taxi. Uber and InDrive are available in La Paz.
By taxi
We decided to take a taxi to La Cumbre because it was easier than going to Terminal Minasa first and waiting for the minibus to fill up before leaving.
We left our luggage at our hotel, called an inDrive taxi and left La Paz at 8:20 am. The ride to La Cumbre took about 50 minutes and cost us Bs 115.
We arrived at 9:10 am and started hiking ten minutes later.
For us, the taxi was worth it. We had all our camping gear with us, and getting dropped directly at the trailhead made the morning much easier. If you’re travelling with a full backpack and don’t mind spending a bit more, this is the easiest way to get to the El Choro trailhead.
Getting Back to La Paz
There are several options to get from Chairo back to La Paz.
Taxi to Coroico + minibus from Coroico to La Paz
We finished hiking at around 4:15 pm and stopped at the small shop at the end of the trail for a drink. We asked the woman there about a taxi to Coroico, and she called a driver.
The taxi from Chairo to Coroico cost us Bs 150. The drive is about 21 km and took roughly an hour, with around 9.5 km on an unsealed road. Other travellers have reported paying around the same amount for this taxi, so Bs 150 seems to be a fairly common price for the journey. If there are other hikers heading to Coroico, you may be able to share the taxi and split the cost.
The driver also asked if we wanted to go to Coroico or directly to La Paz, but we decided to stay in Coroico for the night rather than try to get all the way back to La Paz after three days of hiking. It was quite hot, and I was happy to get to Coroico, take a shower, and have dinner.
We stayed in Coroico overnight and returned to La Paz the following morning. We went to the bus terminal and took a minibus to La Paz, paying Bs 30 per person.
The journey back to La Paz takes you up through the Yungas towards the highlands, so you get to watch the landscape change again from lush, warm valleys to the cold mountains around La Paz. The views were amazing.
Taxi to Yolosita + minibus to La Paz
If you don’t want to stay in Coroico, you can take a taxi from Chairo to Yolosita, a junction on the main road between Coroico and La Paz. From Yolosita, you can wait for a minibus heading towards La Paz and continue your journey from there.
This can be a more direct option than going into Coroico first. You can ask at the small shop at the end of the trek to arrange a taxi to Yolosita. At Yolosita, there is no bus terminal. You simply wait along the main road for a vehicle coming from Coroico and heading towards La Paz. Make sure you confirm with the driver that they are going to La Paz before getting in.
Keep an eye on the time, though. If you want to return to La Paz the same day, I’d aim to finish the hike early enough to reach Yolosita by early afternoon.
I wouldn’t rely on finding a minibus late in the afternoon or evening.
There’s another thing to keep in mind: the minibus might already be full when it reaches Yolosita. When we took a minibus from Coroico to La Paz, there weren’t any spare seats, so you may have to wait for another vehicle.
Taxi from Chairo to La Paz
If you are tight on time and need to get to La Paz as soon as possible, you can ask at the shop in Chairo whether they can arrange a taxi directly to La Paz. As I mentioned above, our taxi driver asked whether we wanted to go to Coroico or directly to La Paz. Unfortunately, I don’t remember what price he quoted for La Paz.
El Choro Trek 3 Days or 4 Days
We initially planned to do the El Choro Trek in 4 days, with the third night at Sandillani. But when we got there in September 2025, Sandillani was abandoned and the lodge next to it was locked. So we decided to keep going and finish the trek that day instead.
Three days is definitely doable. We walked the 52.3 km from La Cumbre to Chairo in three days, staying at Challapampa and Buena Vista. That worked out to roughly 20 km on Day 1, 10 km on Day 2 and 22 km on Day 3. Day 3 was the longest, but it was mostly downhill.
If you prefer shorter days and don’t mind camping at the abandoned Sandillani campsite, you could stretch the trek to 4 days. Just don’t expect facilities there. I’d also carry enough food for the whole trek, as you can’t really rely on camps and shops being open.
How Difficult Is the El Choro Trek?
I would rate the El Choro Trek as moderate to challenging, although it depends quite a lot on your acclimatisation and how many days you take.
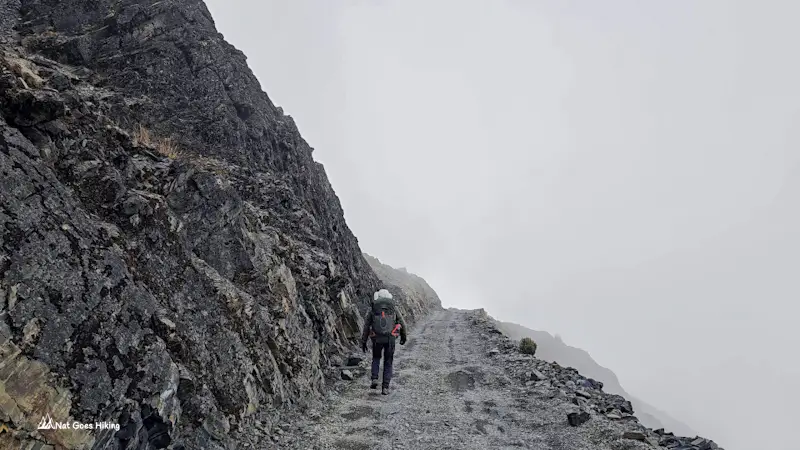
The trail itself isn’t technically difficult for most of the route. You don’t need climbing skills or anything like that. The main challenge is the combination of high altitude, steep downhill sections, the condition of the bridges, and carrying your own food and camping gear.
Altitude
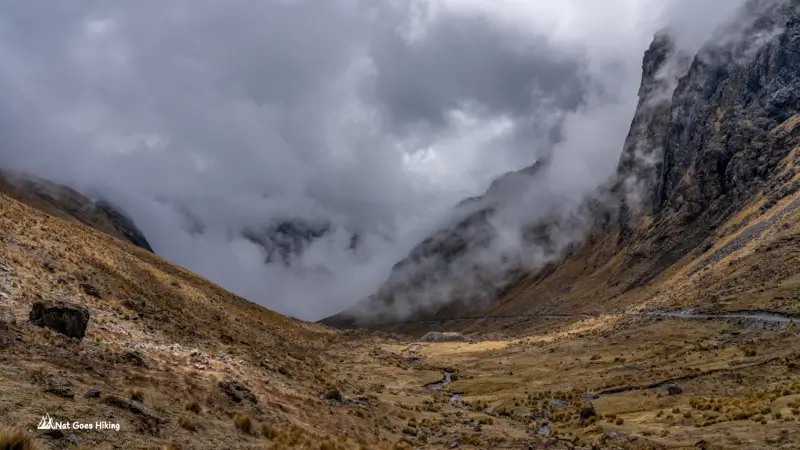
You should be properly acclimatised before attempting the trek, as the route starts at around 4,655 m and crosses a 4,855 m pass before descending into the valley. We were very well acclimatised by the time we did it, having spent several months at 3,000–4,000 m and above, so altitude wasn’t an issue for us.
Long downhill sections
For me, the hardest part was actually the downhill walking. I hate long descents and would much rather walk uphill. By the end of Day 3, after kilometres of downhill, I could feel it in my knees.
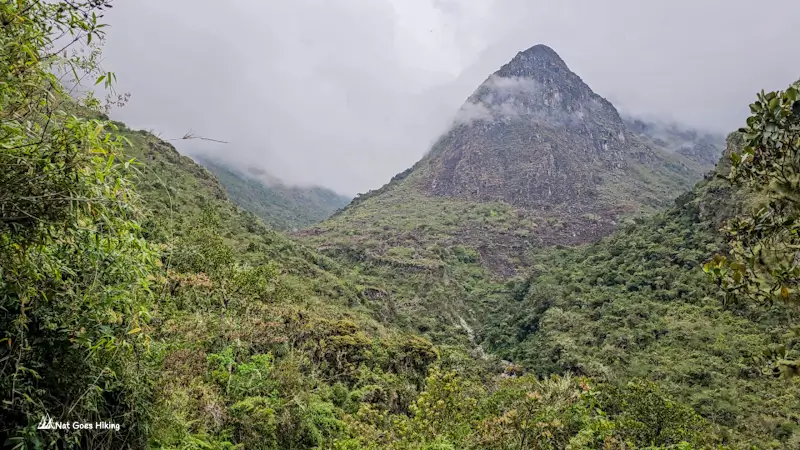
Condition of bridges
Another thing to keep in mind is the condition of the bridges. I came across reports about damaged or destroyed bridges before our trek. We were lucky and all the bridges were in good condition when we did it, but this is something I’d check before setting off.
Distance
The distance can also make the trek challenging. We covered 52.3 km in three days, with Day 3 being the longest. We had originally considered taking it more slowly over four days and stay at Sandillani on Day 3, but the campsite was abandoned, so we decided to continue and finish the trek that day.
At the time we hiked in September 2025, Challapampa and Buena Vista were open and maintained campsites, and we stayed at both of them. We also passed Choro Villa Loa, which appeared to be operating, and there was someone there. If you want to stay at maintained campsites, you have to plan your days around these locations.
Campsites on El Choro Trek
There are quite a few campsites marked on maps along the El Choro Trek, but don’t assume they are all still operating. When we did El Choro Trek in September 2025, many of the campsites along the trail looked abandoned.
Challapampa Campsite
We spent our first night at Challapampa, and we hadn’t seen any other campsite before reaching it. We paid Bs 20 per person. It was basic, but a good place to camp. There was running water, covered tent spaces and a toilet. It was fairly quiet too, with only one other hiker staying there that night.
Choro Villa Loa campsite
About 6 km further is Choro Villa Loa. It was open when we passed and looked quite nice. We didn’t stay there, but stopped for a break and bought a bottle of Coca-Cola. They didn’t have any bottled water when we were there.
Buena Vista
Another 4 km further on is Buena Vista (10 km from Challapampa).
About 10 km from Challapampa and 4 km from Choro Villa Loa, we reached Buena Vista campsite. This was the nicest campsite we stayed at. It was well maintained, with a green lawn, mountain views, running water, a toilet and a shower. Camping was Bs 25 per person.
There was also a very small shop with a few drinks and snacks. We bought water for Bs 20, crackers for Bs 8 and an avocado for Bs 2. The owner grows avocados, bananas and coffee there.
Abandoned campsites
After Buena Vista, we passed several more campsites, including Bella Vista, Super Vista and Sandillani. They all looked abandoned when we were there. I don’t remember seeing any other open campsite after Buena Vista, which made me quite happy that we’d stayed there rather than pushing on.
Don’t rely on every campsite shown on your map or mentioned in an older El Choro Trek guide. Campsite conditions can change, and some places that used to be operating are no longer maintained.
Sandillani Campsite
Sandillani was supposed to be our third-night campsite. We had seen it marked on the map, so we expected to find a campsite there. When we arrived, it looked abandoned.
Sandillani used to be run by Tamiji Hanamura, a Japanese man who lived there for decades and became well known among hikers. He kept a register of trekkers passing through and ran a small campsite on his property. He passed away in 2013, and his grave is on the property.
The place used to have a garden, camping area, tables, a small shop and basic facilities. I think you could probably still put up a tent there, but I wouldn’t expect any facilities or anyone to be there.
There is also Lodge Urpuma (Albergue Urpuma) right next to Sandillani Campsite. It had a lovely green lawn and looked like it would be a great place to camp, but the entrance was locked when we passed.

Supplies on El Choro Trek
Food on El Choro Trek
I wouldn’t count on buying food along the trail. We didn’t find anywhere selling meals. Choro Villa Loa had some drinks, and Buena Vista had a few snacks and drinks, but that was about it.
Bring food for the whole trek. You might be able to buy some snacks from a campsite if you’re lucky, but I wouldn’t rely on it.
Water sources on El Choro Trek
This information is based on our hike in September 2025. There are plenty of streams, small rivers and waterfalls along the El Choro Trek, so finding water wasn’t a problem for us. I’ve added the reliable water sources we found to my GPX track.
Treat all water before drinking.
On Day 1, there were plenty of small mountain streams and rivers, and the Challapampa campsite has running water.

On Day 2, I’d carry enough water from Challapampa to reach the bridge over the Chucura River, where you can refill. After that, the next reliable water source we used was at the Buena Vista campsite.
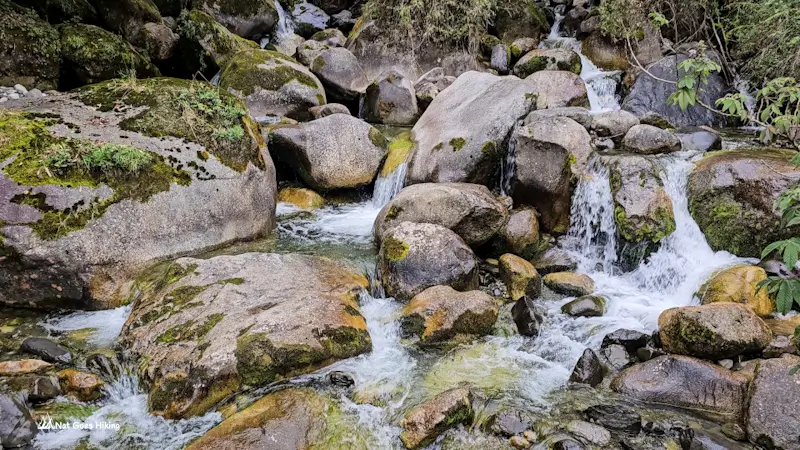
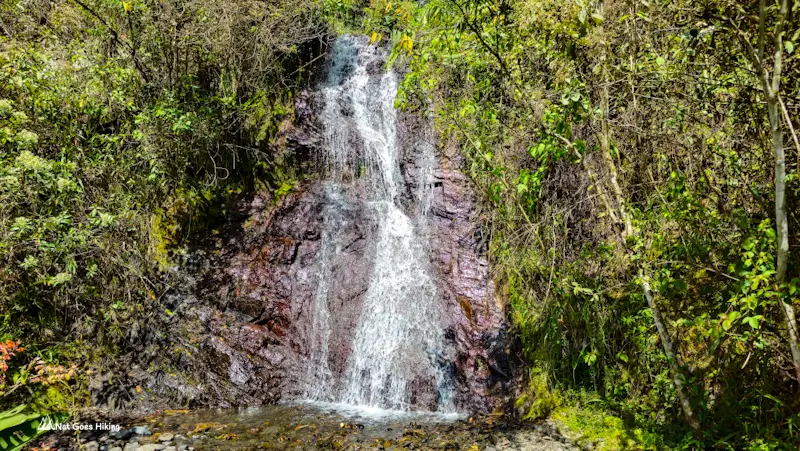
Day 3 had several water sources during the first 12 km after Buena Vista, including a small stream and three small waterfalls. After that, we didn’t find any more water. We didn’t need to refill at Sandillani, so I can’t confirm whether water was available there when we passed in September 2025. Older reports mention water at the campsite, but the facilities were abandoned when we hiked the trail.
Once you reach Chairo, you can buy bottled water and other drinks.
El Choro Trek costs
This is what we spent hiking the El Choro Trek independently in September 2025, including transport, entrance fees, campsites and food for the trek. We also stayed one night in Coroico after finishing the trek, but I’ve listed those expenses separately.
- Taxi from La Paz to La Cumbre: Bs 115
- Taxi from Chairo to Coroico: Bs 150
- Bus from Coroico to La Paz: Bs 30 × 2 = Bs 60
- Entrance fee: Bs 20 × 2 = Bs 40
- Challapampa: Bs 20 × 2 = Bs 40
- Buena Vista Camp: Bs 25 × 2 = Bs 50
- Coca-Cola: Bs 30
- Water: Bs 20
- Crackers: Bs 8
- Avocado: Bs 2
- Freeze-dried hiking food (2 packs/ 4 meals): AUD 20 × 2 = AUD 40 (Bs 316.8 / US$26.4)
- Water (2.5L bottles): Bs 6.5 × 2 = Bs 13
- Crackers: Bs 11.5 × 2 = Bs 23
- Instant noodles: Bs 6.4 × 4 = Bs 25.6
- Tuna: Bs 25 × 2 = Bs 50
- Chocolate: Bs 25 × 2 = Bs 50
- Mayonnaise: Bs 2.6
- Guesthouse: Bs 240
- Food: Bs 45
The freeze-dried meals were brought from Australia, so they were quite expensive.
Staying overnight in Coroico
We stayed overnight in Coroico. It was the weekend, and there were a lot of holidaymakers. We were tired after hiking, so we checked only a couple of guesthouses.
Accommodation in Coroico
We checked in at Hostal-Cafeteria Kurmi for Bs 240 a night for a room with a private bathroom. The rooms were spacious, comfortable, and clean. It was great to have a hot shower after three days on the trail. It was quite hot inside, though, and since there was no flyscreen on the window, mosquitoes came in when we tried to get some fresh air. The pillows were also unusually large and hard, which made it a bit uncomfortable to fall asleep.
What Coroico Is Like
We only stayed one night in Coroico after the El Choro Trek. At the time, we were just thinking about getting back to La Paz and moving on. Now I wish we’d stayed for another night.
Coroico has a relaxed holiday feel. There were a lot of parakeets around town. They’d sit on rooftops or fly over the streets. After several days of hiking, it would have been nice to have a slow morning, a good breakfast, and enjoy the warm weather.
Related Post
Want more inspiration for travel in Bolivia? Check out these posts:
Sajama National Park is Bolivia’s hidden gem. This travel guide covers what to do, how to get there, where to stay, and useful tips from our experience.
Planning a trip to Salar de Uyuni? Discover what to expect, the best time to visit, and whether to go independently or join a tour..
Although Bolivia is one of the most underrated countries, it has so much to offer. Wondering what the top things to do in Bolivia are?